
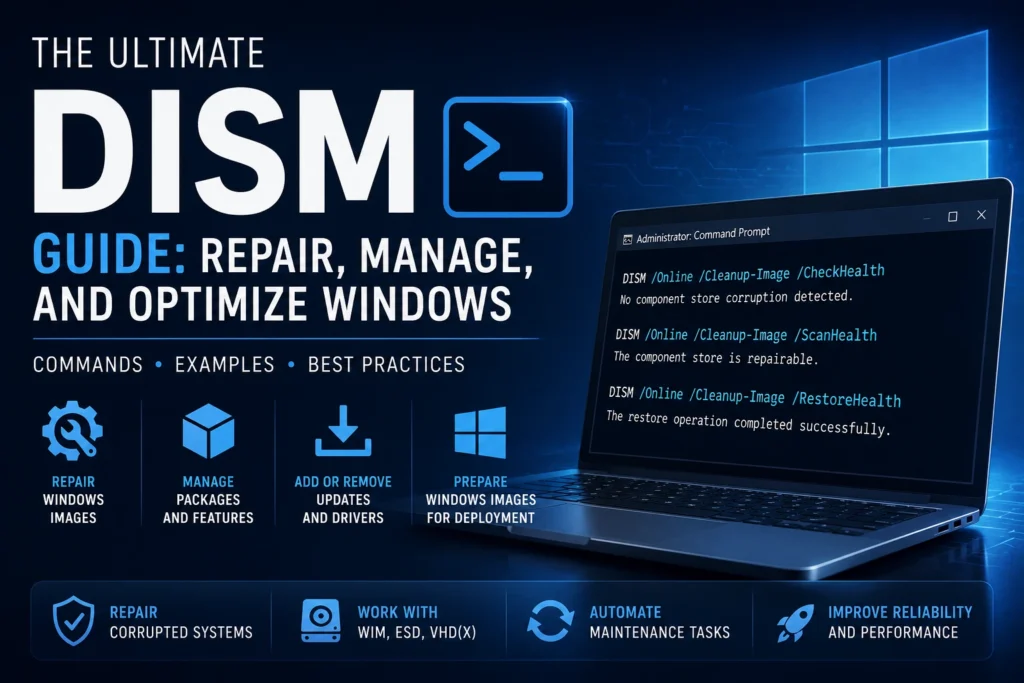
Deployment Image Servicing and Management (DISM) is a powerful command-line tool built into Windows that allows you to analyze, repair, and modify Windows images. Whether you need to fix corrupted system files, add packages, or prepare Windows images for deployment, DISM is an essential utility for Windows administrators.
In this guide, we’ll explore how DISM works, its most useful commands, and practical examples for everyday administration.
What Is DISM?
DISM is a command-line utility used to mount and manage Windows images (.wim, .esd, .vhd, and .vhdx). It is particularly useful for:
- Repairing Windows installations
- Adding or removing Windows features
- Managing Windows updates and drivers
- Capturing and deploying Windows images
DISM can operate both on a running operating system (/Online) and on offline Windows images (/Image:).
Essential DISM Commands
Check and Repair a Windows Image
Check Image Health
DISM /Online /Cleanup-Image /CheckHealthThis command determines whether the Windows image has been flagged as corrupted.
Scan the Image for Corruption
DISM /Online /Cleanup-Image /ScanHealthPerforms a more detailed scan to detect corruption within the Windows image.
Repair the Windows Image
DISM /Online /Cleanup-Image /RestoreHealthAttempts to repair the Windows image by downloading the required files from Windows Update.
Repair Using a Local Source (ISO or Mounted Image)
If the device does not have Internet access, you can specify a local repair source:
DISM /Online /Cleanup-Image /RestoreHealth /Source:WIM:D:\sources\install.wim:1 /LimitAccessOr by using a mounted Windows image:
DISM /Online /Cleanup-Image /RestoreHealth /Source:C:\test\mount\windows /LimitAccessThe /LimitAccess switch prevents DISM from contacting Windows Update.
Managing Windows Images (WIM / ESD)
Display the Contents of a WIM or ESD File
DISM /Get-WimInfo /WimFile:D:\sources\install.wimor
DISM /Get-WimInfo /WimFile:D:\sources\install.esdThese commands display all Windows editions contained in the image and their corresponding indexes.
Apply a Specific Windows Image
If you already know the index of the Windows edition you want to deploy:
DISM /Apply-Image /ImageFile:D:\sources\install.wim /Index:1 /ApplyDir:C:\Adding Packages and Windows Features
Install a Windows Update or CAB Package
DISM /Online /Add-Package /PackagePath:C:\Updates\KB123456.cabYou can also install multiple updates by specifying a folder containing several .cab files.
Enable a Windows Feature
DISM /Online /Enable-Feature /FeatureName:NetFx3 /All /Source:D:\sources\sxs /LimitAccessThis command installs .NET Framework 3.5 from a local installation source.
Disable a Windows Feature
DISM /Online /Disable-Feature /FeatureName:WindowsMediaPlayerDriver Management
Add a Driver
DISM /Online /Add-Driver /Driver:C:\Drivers\Nvidia.infRemove a Driver
DISM /Online /Remove-Driver /Driver:Nvidia.infBest Practices
- Always run DISM from an elevated Command Prompt or PowerShell session.
- Use a local repair source whenever possible to speed up image restoration.
- If corruption persists after running DISM, execute:
sfc /scannowto repair protected Windows system files.
- Always create a backup before making significant system changes.
DISM: Conclusion
DISM is one of the most valuable tools available to Windows administrators. Whether you need to repair a corrupted operating system, deploy Windows images, install updates, manage drivers, or enable Windows features, DISM provides a comprehensive set of capabilities.
Mastering DISM not only simplifies troubleshooting but also improves the reliability and maintainability of Windows environments, making it an essential component of any modern Digital Workplace strategy.