
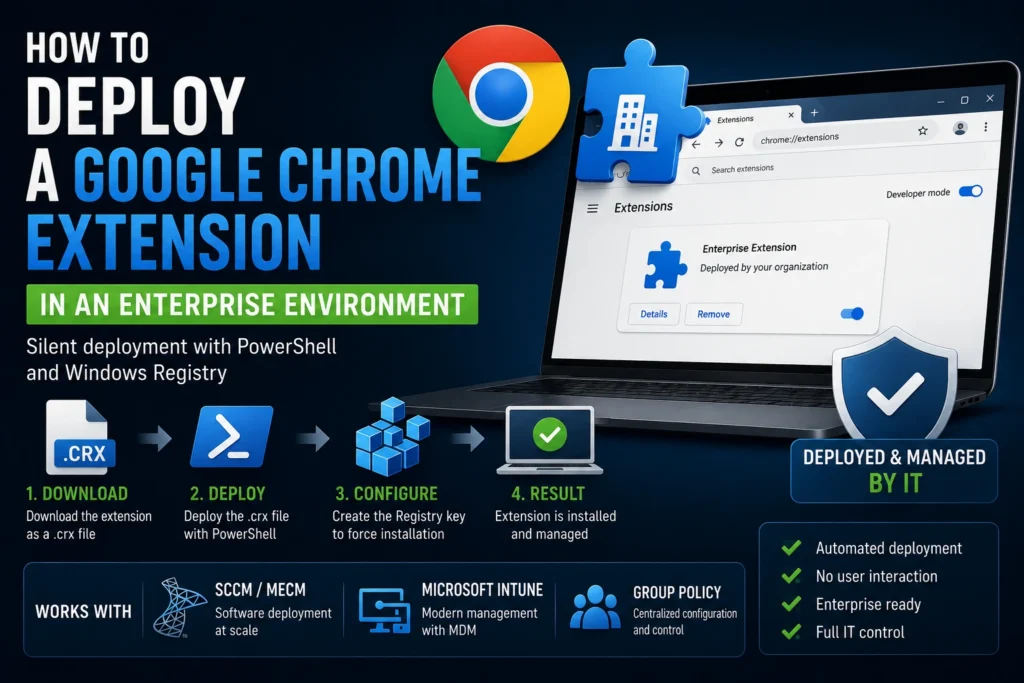
In enterprise environments, end users often do not have permission to install Google Chrome extensions themselves. Whether you want to deploy an internally developed extension or one available from the Chrome Web Store, Chrome allows administrators to install extensions in a controlled and automated way.
In this article, we’ll show you how to deploy a Chrome extension using PowerShell and a simple Windows Registry configuration.
Objective
Silently deploy a Chrome extension to managed devices without user interaction and without requiring users to install it manually from the Chrome Web Store.
Step 1 – Download the Extension as a .crx File
Google does not provide direct .crx downloads from the Chrome Web Store. To obtain the package:
- Visit the Chrome Extension Downloader website.
- Enter the Extension ID.
- To find the Extension ID:
- Install the extension on a test device.
- Navigate to:
chrome://extensions/- Enable Developer mode.
- The Extension ID will be displayed in the extension details.
Example Extension ID:
aapocclcgogkmnckokdopfmhonfmgoek- Download the
.crxfile and store it alongside your PowerShell deployment script.
Step 2 – Choose a Local Storage Folder
Select a folder that is readable by all users and will permanently store the .crx file.
Example:
C:\Program Files\Google\Extensions\Step 3 – Create the Registry Key
Chrome supports forced extension installation through the Windows Registry.
Create the following key:
HKLM\SOFTWARE\Google\Chrome\Extensions\<Extension_ID>Within this key, create the following values:
| Name | Type | Value |
|---|---|---|
| path | REG_SZ | Full path to the .crx file |
| version | REG_SZ | Extension version number |
Step 4 – PowerShell Deployment Script
The following script automates the deployment process:
$executingScriptDirectory = Split-Path -Parent -Path $MyInvocation.MyCommand.Definition
$crxPath = "C:\Program Files\Google\Extensions"
$extID = "your_extension_id"
$extVersion = "1.0.0.0"

# Create folder if necessary
if (!(Test-Path -Path $crxPath)) {
    New-Item -ItemType Directory -Path $crxPath -Force
}

# Copy extension
Copy-Item "$executingScriptDirectory\Extension.crx" "$crxPath\Extension.crx" -Force

# Create registry key
$regPath = "HKLM:\SOFTWARE\Google\Chrome\Extensions\$extID"
New-Item -Path $regPath -Force | Out-Null
New-ItemProperty -Path $regPath -Name "path" -Value "$crxPath\Extension.crx" -PropertyType String -Force
New-ItemProperty -Path $regPath -Name "version" -Value $extVersion -PropertyType String -Force
This script can be deployed through:
- Microsoft Configuration Manager (SCCM/MECM)
- Microsoft Intune
- Group Policy (GPO)
- Any enterprise software deployment solution
Deployment Behavior
| Deployment Scenario | Behavior |
|---|---|
| Included in a reference image or OS image | The extension is automatically enabled when Chrome starts. |
| Deployed after Windows installation (SCCM, Intune, etc.) | Chrome displays a notification and the user must enable the extension manually. |
Best Practices
If you need the extension to be installed and enabled automatically without user interaction, Microsoft recommends using:
- Group Policy (GPO)
- Microsoft Intune (MDM)
Also consider the following recommendations:
- Ensure the
.crxfile is readable by all users through appropriate NTFS permissions. - Store the extension in a permanent location that will not be removed during application updates.
- Inventory installed Chrome extensions using a custom WMI class, as described in our dedicated Chrome extension inventory guide.
Conclusion
Deploying a Google Chrome extension in an enterprise environment can be fully automated using PowerShell and the Windows Registry.
This approach is lightweight, flexible, and particularly well suited to organizations where users have restricted permissions while administrators retain full control over browser extensions.
Combined with SCCM, Intune, or Group Policy, it provides a simple and reliable way to standardize Chrome extensions across the entire organization.